Navigating the Aither Health Provider Portal can initially seem overwhelming, especially when you are managing critical health data and insurance claims. This guide aims to simplify your journey, offering step-by-step guidance, actionable advice, real-world examples, and practical solutions to make the portal an efficient tool in your daily operations. We’ll focus on addressing common pain points and providing practical tips that can streamline your workflow.
Problem-Solution Opening Addressing User Needs
If you’re struggling with navigating the Aither Health Provider Portal, you’re not alone. Many providers encounter challenges with understanding complex interfaces, ensuring timely submissions, and managing patient information effectively. This guide is designed to alleviate those frustrations by providing clear, concise, and actionable advice tailored to your specific needs. We’ll focus on practical solutions to common problems, such as navigating the portal, submitting claims efficiently, and understanding patient data without getting bogged down by technical jargon. By the end of this guide, you’ll have the knowledge and confidence to use the Aither Health Provider Portal seamlessly as part of your routine.
Quick Reference
Quick Reference
- Immediate action item: Create and save your profile in the Aither Health Provider Portal. This step ensures you can access all the features seamlessly.
- Essential tip: Familiarize yourself with the dashboard. Knowing where to find tools and information will save time.
- Common mistake to avoid: Overlooking secure login protocols. Always log in using two-factor authentication to protect sensitive data.
Getting Started with the Aither Health Provider Portal
Starting with the Aither Health Provider Portal involves creating an account, verifying your credentials, and setting up your profile. Here’s how to do it:
- Creating Your Account:
To create an account, visit the Aither Health Provider Portal’s homepage. Click on the 'Sign Up' button. You’ll need to provide your personal and professional details. This process helps ensure that your account is set up accurately and that you receive notifications and updates promptly.
- Verification:
Once you submit your application, you’ll receive a verification email. Click on the link in the email to verify your account. This step is crucial for activating your account and granting access to all portal features.
- Setting Up Your Profile:
After verification, you’ll be directed to set up your profile. Fill in your professional details such as license number, specialties, and office locations. Upload necessary documents like your professional ID and any certifications. This information is used for verification purposes and helps to streamline communication with patients and insurance companies.
- Securing Your Account:
Enable two-factor authentication for an added layer of security. This process involves receiving a code via email or text message every time you log in, ensuring that unauthorized users cannot access your account.
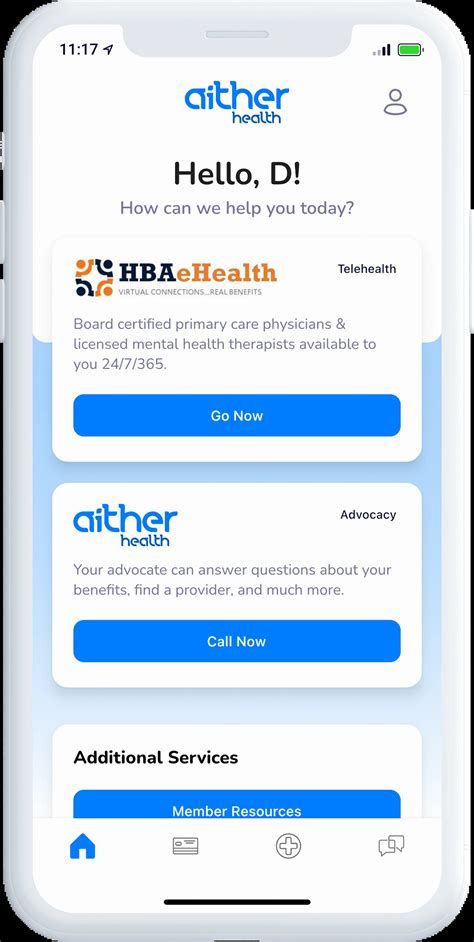
Navigating the Dashboard
The dashboard is the central hub of your Aither Health Provider Portal experience. Knowing its layout and functionalities can make your interaction with the portal smoother and more efficient.
- Understanding Key Sections:
Your dashboard typically includes sections like 'Claims Management,' 'Patient Information,' 'Notifications,' and 'Settings.' Familiarize yourself with these sections to quickly access the tools you need most.
- Claims Management:
The 'Claims Management' section is where you can submit, track, and manage insurance claims. Here you can submit new claims, check the status of existing ones, and receive updates on approvals or denials. To submit a new claim, click on 'New Claim,' fill out the necessary forms, and attach required documents. Regularly check this section for any updates or additional information requests.
- Patient Information:
The 'Patient Information' section allows you to access detailed records for your patients, including their medical history, current treatments, and insurance details. This information is crucial for providing accurate care and ensuring that claims are submitted correctly. Make sure to update this section regularly with the latest patient data.
- Notifications:
Stay informed about important updates by regularly checking the 'Notifications' section. This is where you’ll find alerts about new claims, payment updates, and system changes. Mark notifications as read to keep your dashboard clutter-free.
- Settings:
Modify your account preferences and security settings in the 'Settings' section. This is where you can update your contact information, change your password, and adjust notification preferences. Regularly review these settings to keep your account secure and your information up-to-date.
Submitting Claims Efficiently
Submitting claims can be a meticulous process, but with the right approach, it can be streamlined. Here’s how to submit claims effectively:
- Gathering Required Documentation:
Before submitting a claim, gather all necessary documents, including patient records, treatment summaries, and insurance information. Ensure that all forms are completed accurately and include all required details. Double-check that you have the correct patient information and diagnosis codes, which are crucial for claim acceptance.
- Using the Claim Submission Form:
Navigate to the 'Claims Management' section and select 'New Claim.' Fill out the form with precise information and attach all required documents. Follow the instructions provided on the portal to ensure that you include all necessary details. Take your time to review the form before submission to avoid errors.
- Tracking Your Claim:
After submission, monitor the status of your claim in the 'Claims Management' section. You can check for updates, such as approval or denial, and view payment details. If your claim is denied, follow the instructions provided in the notification to understand the reason and take appropriate action, which may include resubmitting the claim with additional information.
Managing Patient Information
Managing patient information is vital for maintaining accurate records and providing quality care. Here’s how to manage patient data effectively:
- Updating Patient Records:
Regularly update patient records with new information, including treatment outcomes, medication changes, and follow-up appointments. Ensure that all entries are accurate and include dates and signatures. This helps in maintaining up-to-date patient records that are useful for both patient care and insurance claims.
- Accessing Patient Information:
When you need to access patient information, navigate to the 'Patient Information' section. Here, you can find comprehensive details about each patient, including medical history, current treatments, and insurance coverage. Use this information to make informed decisions about patient care.
- Sharing Patient Information:
If you need to share patient information with other healthcare providers, use the secure sharing features available in the portal. Ensure that you comply with privacy regulations and obtain consent where necessary. This helps in coordinating care and ensuring that all providers have the necessary information to provide the best care possible.
Practical FAQ
Common user question about practical application: How can I reset my password?
If you need to reset your password, follow these steps:
- Click on the ‘Forgot Password’ link on the login page.
- Enter your registered email address.
- Check your email for a password reset link.
- Click on the link and follow the instructions to set a new password.
Ensure your new password is strong, using a mix of letters, numbers, and symbols. This will help protect your account from unauthorized access.
Common user question about practical application: How do I contact support if I have issues?
If you encounter any issues while using the portal, you can contact